two paper templates; 7 inches x 6 inches (outer) and 8 inches by 6 inches (inner)
fabric for both the outer and inner of your tissue case
a packet (or two) of tissues
1. Choose your fabric, these don't use a lot so you can cut into that favourite print for this one!
Pin, and cut out the fabric using the paper templates you made with the measurements given.
2. Place and pin right sides together on one of the shorter sides (6 inches).
Sew together using both a straight stitch and either overlock or zig-zag stitch.
Do the same to the other end.
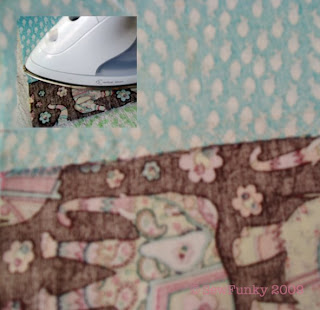
3. Iron the seams towards the outer fabric.
4. Turn the fabric right-side out and iron. There will be a small overlap of lining on each 6 inch side. :)
5. Fold in half and iron so that you know where you are going to sew the side seams. Fold one side to the halfway mark and pin.
Do the same to the other side, overlapping slightly at the middle.
Now sew each end, by using both the straight stitch and zig-zag stitch.
6. Turn right-side out and use a knitting needle to push out the corners.
TAH DAH!!!
Kudos to Lianne who chose the fabric combination!
I've now made three for each of my wonderful daughters to take to school with them! The elephant one goes to Briahna, the circus one to Aimee and the cute retro one will be Hope's. Woo hoo! :D


6 comments:
Sooooo cute!!! I might have to try that sometime. Clever you.
wow that is Clever!!! I love the idea and Barbie will love to have one!!! Guess I had better go choose some fabric. (like i dont know she wants chetah print) Marion
I have made several of these little cases but have noticed lately that the tissue packets open from the side, not the top. I found a pattern for that style on sewthankful.com. I like the traditional one best, but in case you run into these new tissues...
How cute! Great tutorial - lovely photos and easy instructions are always my favourite.
Nice one, thank you for that!
I love the way you get the lining to sit along the opening - very pretty. Love the wristlets too - glad the tea towel was useful!
Post a Comment